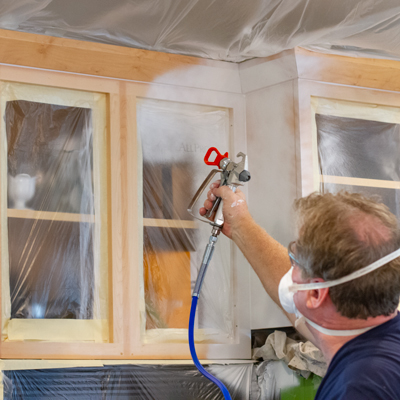
HOW TO SPRAY PAINT CABINETS WITH AN AIRLESS PAINT SPRAYER
Project overview
Painting or staining your cabinets can completely transform the look of your kitchen, bathroom or any room in your house. Since many rooms with cabinets usually get a lot of traffic and activity, you’ll want to get this project done fast. Using a Magnum by Graco airless paint sprayer will provide the fastest way to achieve a perfect finish. Discover how to paint kitchen cabinets with this easy-to-follow guide.
When this project is done right, you’ll get a durable, smooth finish, without any brush strokes or other imperfections. It’s also important to get even coverage on the doors and in all the corners and grooves. The way in which you apply the finish makes all the difference in terms of how long the finish will last.
So, there’s no need to spend a fortune on replacing your cabinets, when an airless sprayer provides both the speed and quality to make transforming your cabinets a quick and easy home improvement project.
Safety notice: Whenever operating spray equipment, take proper safety precautions, stay alert, and be mindful of potential hazards. Wear protective gear such as gloves, safety glasses/goggles, spray sock (hood), hat, proper footwear, dust masks and respirators. Make sure there is adequate ventilation. If you’re painting in the vicinity of appliances, turn them off. (See Safety Precautions in your Sprayer Operation Manual.) Always refer to the specific instructions and safety procedures for the spray equipment you are using.
WATCH: How to spray cabinets (6:28)
Suggested tools & equipment
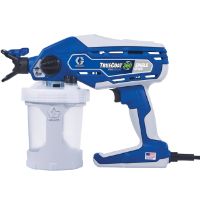
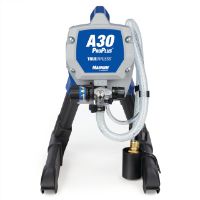
- Magnum by Graco paint sprayer
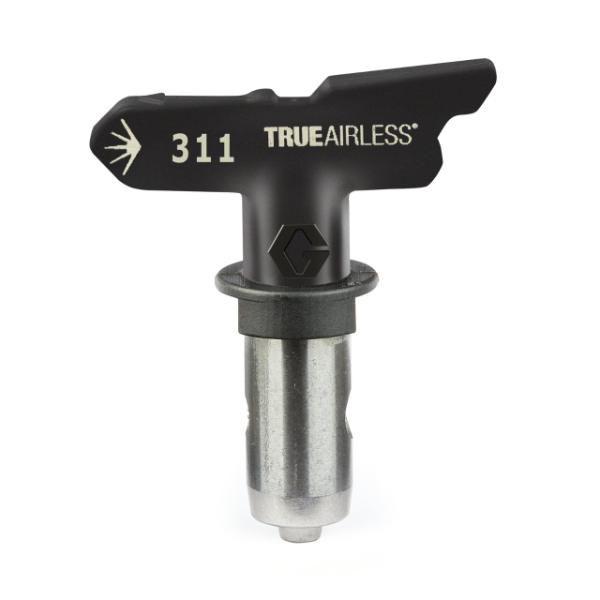
- TrueAirless 311 airless spray tip
- Non-flammable oil-based primer
- Latex enamel satin or semi-gloss paint or stain
- T. S. P. all-purpose cleaner
- Canvas drop cloth, paper or plastic
- Extension cord
- Rags & waste pail
- Plastic baggies for cabinet hardware
- 2x4s on 2 paint cans or sawhorses
- Wood filler & putty knife
- Fine grit sandpaper or sanding block
- Tact cloth
- Masking/duct tape
- Scrap cardboard
- Personal safety gear
- Paint strainer (if available) & rubber gloves
- Garden hose
- 2 adjustable wrenches
- Flat & philips screwdrivers
Preparing the cabinets
The first step in spray painting cabinets is to start prepping the surfaces that will be painted.
Remove the doors and drawer fronts from the cabinets and then remove the hardware. Be sure to mark the doors and drawers to each cabinet. Place the hardware into plastic bags and keep them together, so you won't have to readjust the doors when reassembling them to the cabinets.
If you plan to replace the hardware on your cabinets with hardware that has different hole alignments, fill the existing holes with wood filler. You will need to fill in one or both holes and drill new holes where needed. You’ll also want any surfaces you paint to be thoroughly cleaned. To achieve this, wipe all the surfaces with TSP (Trisodium Phosphate) to remove any dirt or grease.
Allow the surfaces to completely dry. Lightly sand the doors, drawers and cabinets by moving with the grain of the wood to remove the top layer of finish. This will allow the paint to adhere better and result in a smooth surface. Once the sanding is complete, vacuum all surfaces. Take the time to inspect all of the surfaces for damaged areas and spackle over nail holes and cracks. Also, make sure to caulk gaps between cabinets and walls to create a seamless blend.
Preparing the jobsite
Now that the cabinets are prepped, prepare the job site. Cover anything you don’t want to be painted with plastic. Use a canvas tarp or masking paper to cover the floors. Tape and cover box openings and protect walls and ceiling with plastic. Bag the area of the room in which you’ll be spraying.
In an unfinished basement or garage, create a temporary spray booth by covering the ground … and surrounding the area with plastic. Place the cabinet doors on 2 sawhorses with 2x4 boards, to get them off the ground and up to a comfortable angle for spraying.
Paint/coatings
For best results, prime all the surfaces with a non-flammable, oil-based primer and sealer. This will provide a water barrier and avoid bleed-through and cracking.
To remove any large particles or dried sediment, pour your primer through a strainer into a bucket. Put on some latex gloves and squeeze out the excess primer. Discards the strainer and gloves. You will want to go through this same process with the topcoat material as well.
Safety
Before you begin spray painting kitchen cabinets, be sure you’ve read all safety and operational instructions that came with your airless sprayer and have proper personal safety gear, such as eye protection and a respirator.
Always be aware that airless sprayers can put out a lot of pressure – often enough to pierce the skin. So, never point the gun at yourself or anyone else. Also, it’s important to make sure to adequately ventilate your work area before spraying.
Spray tip selection
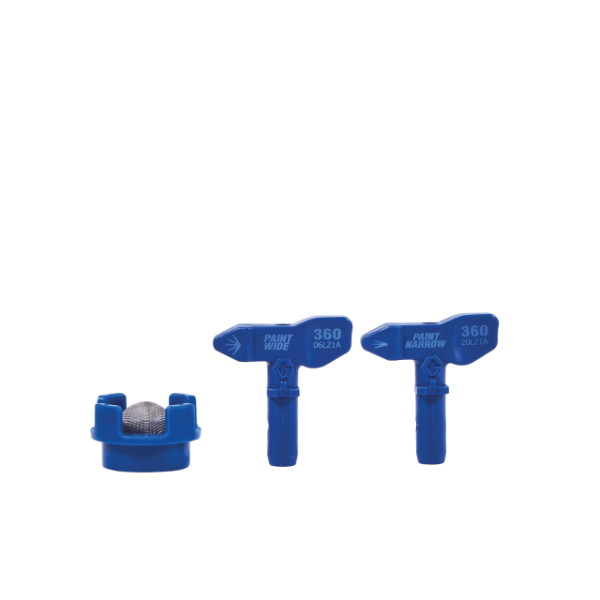
For this type of project, where the surface areas are small, we recommend a spray tip that delivers a smaller spray fan. When spraying water-based enamel and satin finish paint, it’s best to use a 311 spray tip as it will deliver a 6-inch (15 cm) spray fan that is perfect for cabinets and smaller doors.
Practice spraying
Before spraying the cabinets, we recommend practicing on a piece of cardboard. This will allow you to fine-tune your technique and adjust the sprayer for the best spray pattern.
Start each pass by holding the spray tip about 12-inches (30 cm) from the surface. Aim at the middle of each previous pass so you’ll overlap it by 50%. With your other hand, hold the hose to keep it out of the way. The gun must be moving when the trigger is pulled and released. Start and stop the gun after each pass. Pull the gun trigger after starting each stroke. Release the trigger before the end of each stroke.
To help blend each spray pass and create a fuzzy edge around the entire spray pattern, flex your wrist so the gun stays perpendicular to the surface. Fanning the gun one way or the other will result in uneven spray patterns. Don’t overreach – just reach as far as is comfortable.
To achieve the best spray pattern, always start at the lowest pressure and slowly increase the pressure until you achieve the desired results. A good spray pattern will always have even, soft edges. If you have visible lines or “tails” at the top and bottom of each pattern, try increasing the pressure in small increments until the edges of the pattern soften.
Applying the primer
Start spraying the cabinet doors. Start at one end and spray the sides and inside and work your way around, spraying all of the outside frames. Finally, spray directly over the top of the doors and make sure you cover every surface. Work within reach. Don’t extend farther than what’s comfortable. Let the doors dry completely before turning them over to spray the other side.
When finished, move on to the cabinets. Spray the larger flat surfaces as you did with the doors. Inside the cabinets, spray the corners first and then fill in the centre area. For the outside areas of the cabinets with edges, angle your gun so two-to-three spray passes will blend in the centre.
When the primer is completely dry, lightly sand the surfaces. This will help your topcoat adhere stronger to the surface and give a smoother finish. You’re just looking for a light powder when sanding between coats. Vacuum all surfaces and then wipe down with a tack cloth.
Prep between coats
It’s important to flush the old paint/coating material out of your sprayer before loading it with new material. Since this project started with a non-flammable, oil-based primer, make sure to flush the sprayer with mineral spirits. If the topcoat application will be water-based, flush the sprayer again with water, before adding the water-based topcoat material.
Now that the sprayer is flushed, strain and load the topcoat material into your sprayer. Spray this first topcoat of paint onto all surfaces and then allow the paint to completely dry before spraying a second coat. Most pros do a fine sanding, vacuuming and wiping with a tack cloth, on all surfaces between coats. This allows the topcoat to adhere stronger to the surface.
Finish
Once the second coat is completely dry, carefully remove all of the tape, paper and plastic. Then reinstall the hardware and attach the doors and drawers to the cabinets. And that's all it takes to give your kitchen a completely new look, quick and easy on to the next project.
Looking for more videos to watch?
Check out our Education Centre with videos that cover product preparation, start-up and clean-up tips, spraying advice, troubleshooting and much more.
Recommended products for cabinets
Related Articles
Interior rooms
Learn how to use a paint sprayer for interior walls with this guide. Magnum by Graco makes painting a room easy with paint sprayers made to be used inside.
Doors & Trim
Discover how to use paint sprayers for doors and stain trim using tools from Magnum by Graco. Sprayers let you eliminate brush marks and get an even coat.
Home furniture
Learn how to use a paint sprayer for furniture with this guide from Magnum by Graco. Magnum by Graco makes staining furniture easy.


Related projects
Interior rooms
Learn how to use a paint sprayer for interior walls with this guide. Magnum by Graco makes painting a room easy with paint sprayers made to be used inside.
Doors & Trim
Discover how to use paint sprayers for doors and stain trim using tools from Magnum by Graco. Sprayers let you eliminate brush marks and get an even coat.
Home furniture
Learn how to use a paint sprayer for furniture with this guide from Magnum by Graco. Magnum by Graco makes staining furniture easy.
Do you have any product questions?
Register your unit
Register your product and receive a free bottle of Pump Armor, a storage fluid that extends the life of your pump.