How to choose the right airless spray tip in 3 steps
Follow an easy 3-step approach to choosing the right spray tip for any spray job.
Even if it is only a tiny part of your airless spray system, a tip largely determines the quality of your work. Graco uses a colour coding system and three-digit codes to identify tip types. But how to know exactly which tip you need for a particular spray job? Read how to choose the right tip in 3 steps.
Using the right spray tip is critical. On top of achieving a better spray quality, it saves you from wasting material and makes you work faster. Did you already crack the code each Graco tip is marked with? Great, then have a look at our 3-step plan to make sure you choose the right tip for your specific airless spraying application.
- Step 1: Your application determines the colour of the tip
- Step 2: Your desired fan width determines the first number of the three-digit code
- Step 3: Your desired material output determines the last two numbers of the three-digit code
Step 1: Application
Graco tips for airless sprayers come in different colours. Based on the colour of the tip, you will know immediately which tip is best suited for your application.
RAC AIRLESS SWITHTIPS
RAC 5
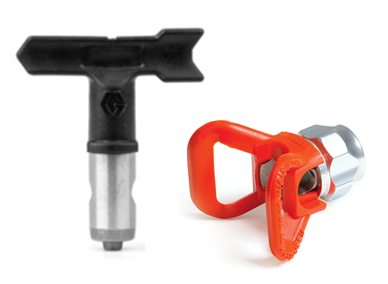
Precision spray tip for residential, commercial application
RAC X LTX
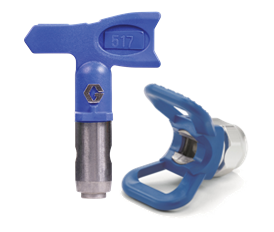
For every interior and exterior paint job
RAC X WR
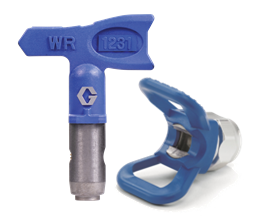
New construction and high production with large surfaces
RAC X FFLP
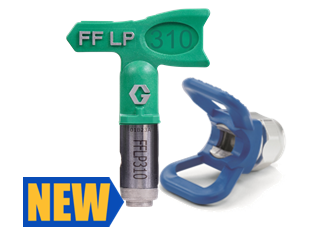
For fine finish applications with thin material at the lowest pressure
RAC X LP
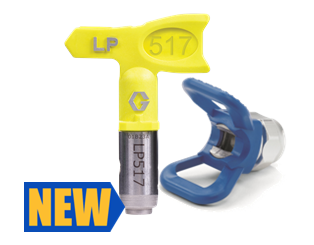
For every interior and exterior paint job at the lowest pressure
RAC X WRLP
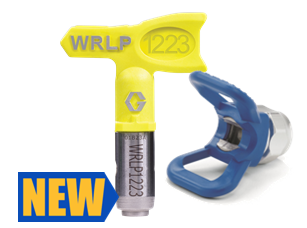
Spray larger surfaces at low pressure
Step 2: Fan width
The fan width is determined by the angle when spraying 30 cm from the surface. The larger the fan width the faster you can work, but it comes with a higher material consumption. When spraying in smaller fan widths you use less material and have more control.
Choose your preferred fan width in centimetres and divide it by 5. The result corresponds with the first number of the three-digit code printed on each tip. So, if you want a 15 cm fan width, the first number of the three-digit code is 3 (as 3 x 5 = 15 cm). If you want a 35 cm fan width, the first number is 7 (as 7 x 5 = 35 cm).
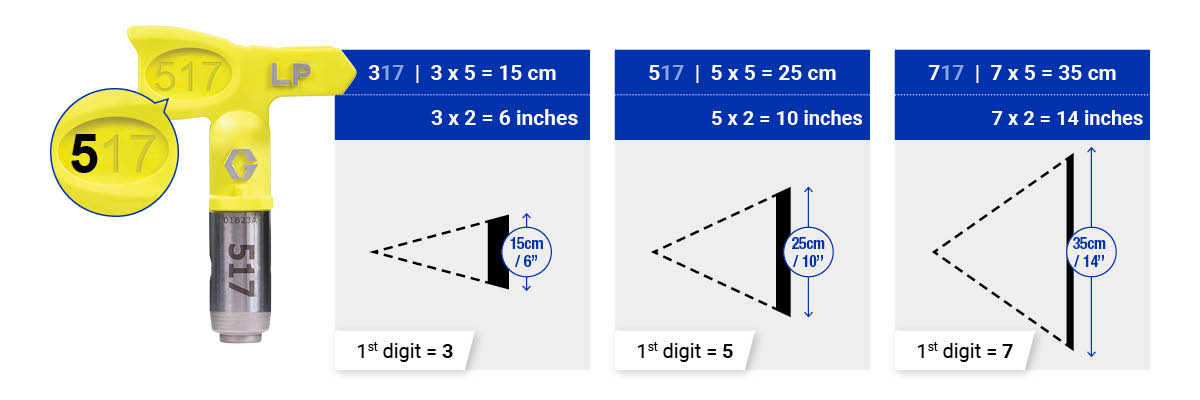
The higher the first number, the larger the fan width, the bigger the surface you spray.
Step 3: Material output
Now you need to know what orifice size the tip needs. The orifice size (indicated in one thousands of an inch, e.g. 0.017) determines the material output. The higher the number, the more material can be sprayed through the tip. Thicker materials also require a larger orifice size. Many material manufacturers specify recommended spray tip orifice sizes on the container or product specification sheet.
Choose an orifice size rated for the material you’ll be spraying and the material output you want. The size of the spray orifice is shown by the last two numbers of the three-digit code: ‘17’ matches an orifice of 0.017 inch.
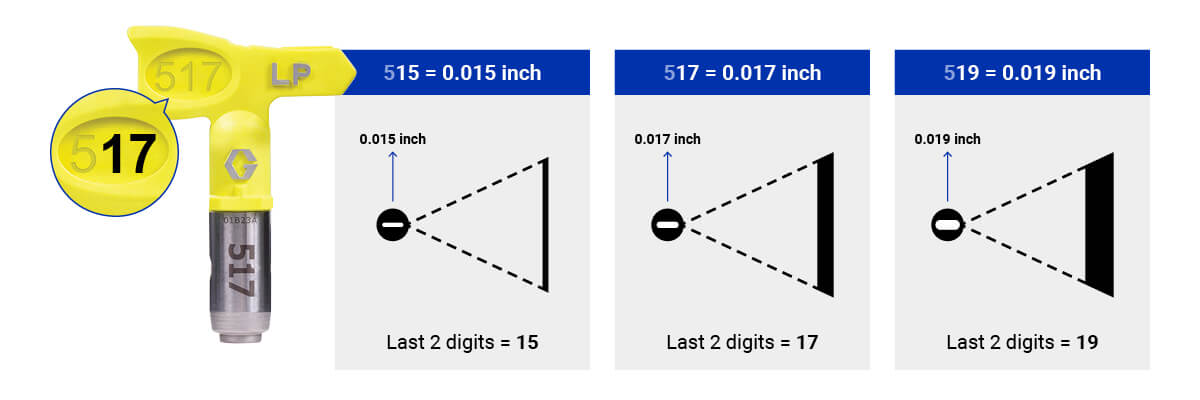
The higher the last two numbers, the larger the orifice size, the higher the material output.
Always check if your chosen orifice size is compatible with the maximum tip size of your sprayer.
Good to know!
Applied material too thick or too thin? Use a tip with a different orifice size or fan width
Try out different tips to get a better feel for which tip best matches your application.
Example: You have a 517 tip, which has a 25 cm fan width (5 x 5 = 25) and has a 0.017 inch orifice (represented by the 2 last digits, 17). This results in a particular material thickness.
- Is the sprayed material too thick?
Use a smaller tip orifice (515 instead of 517) OR increase the spray angle (717 instead of 517).
- Is the sprayed material too thin?
Use a larger tip orifice (519 instead of 517) OR decrease the spray angle (317 instead of 517).


