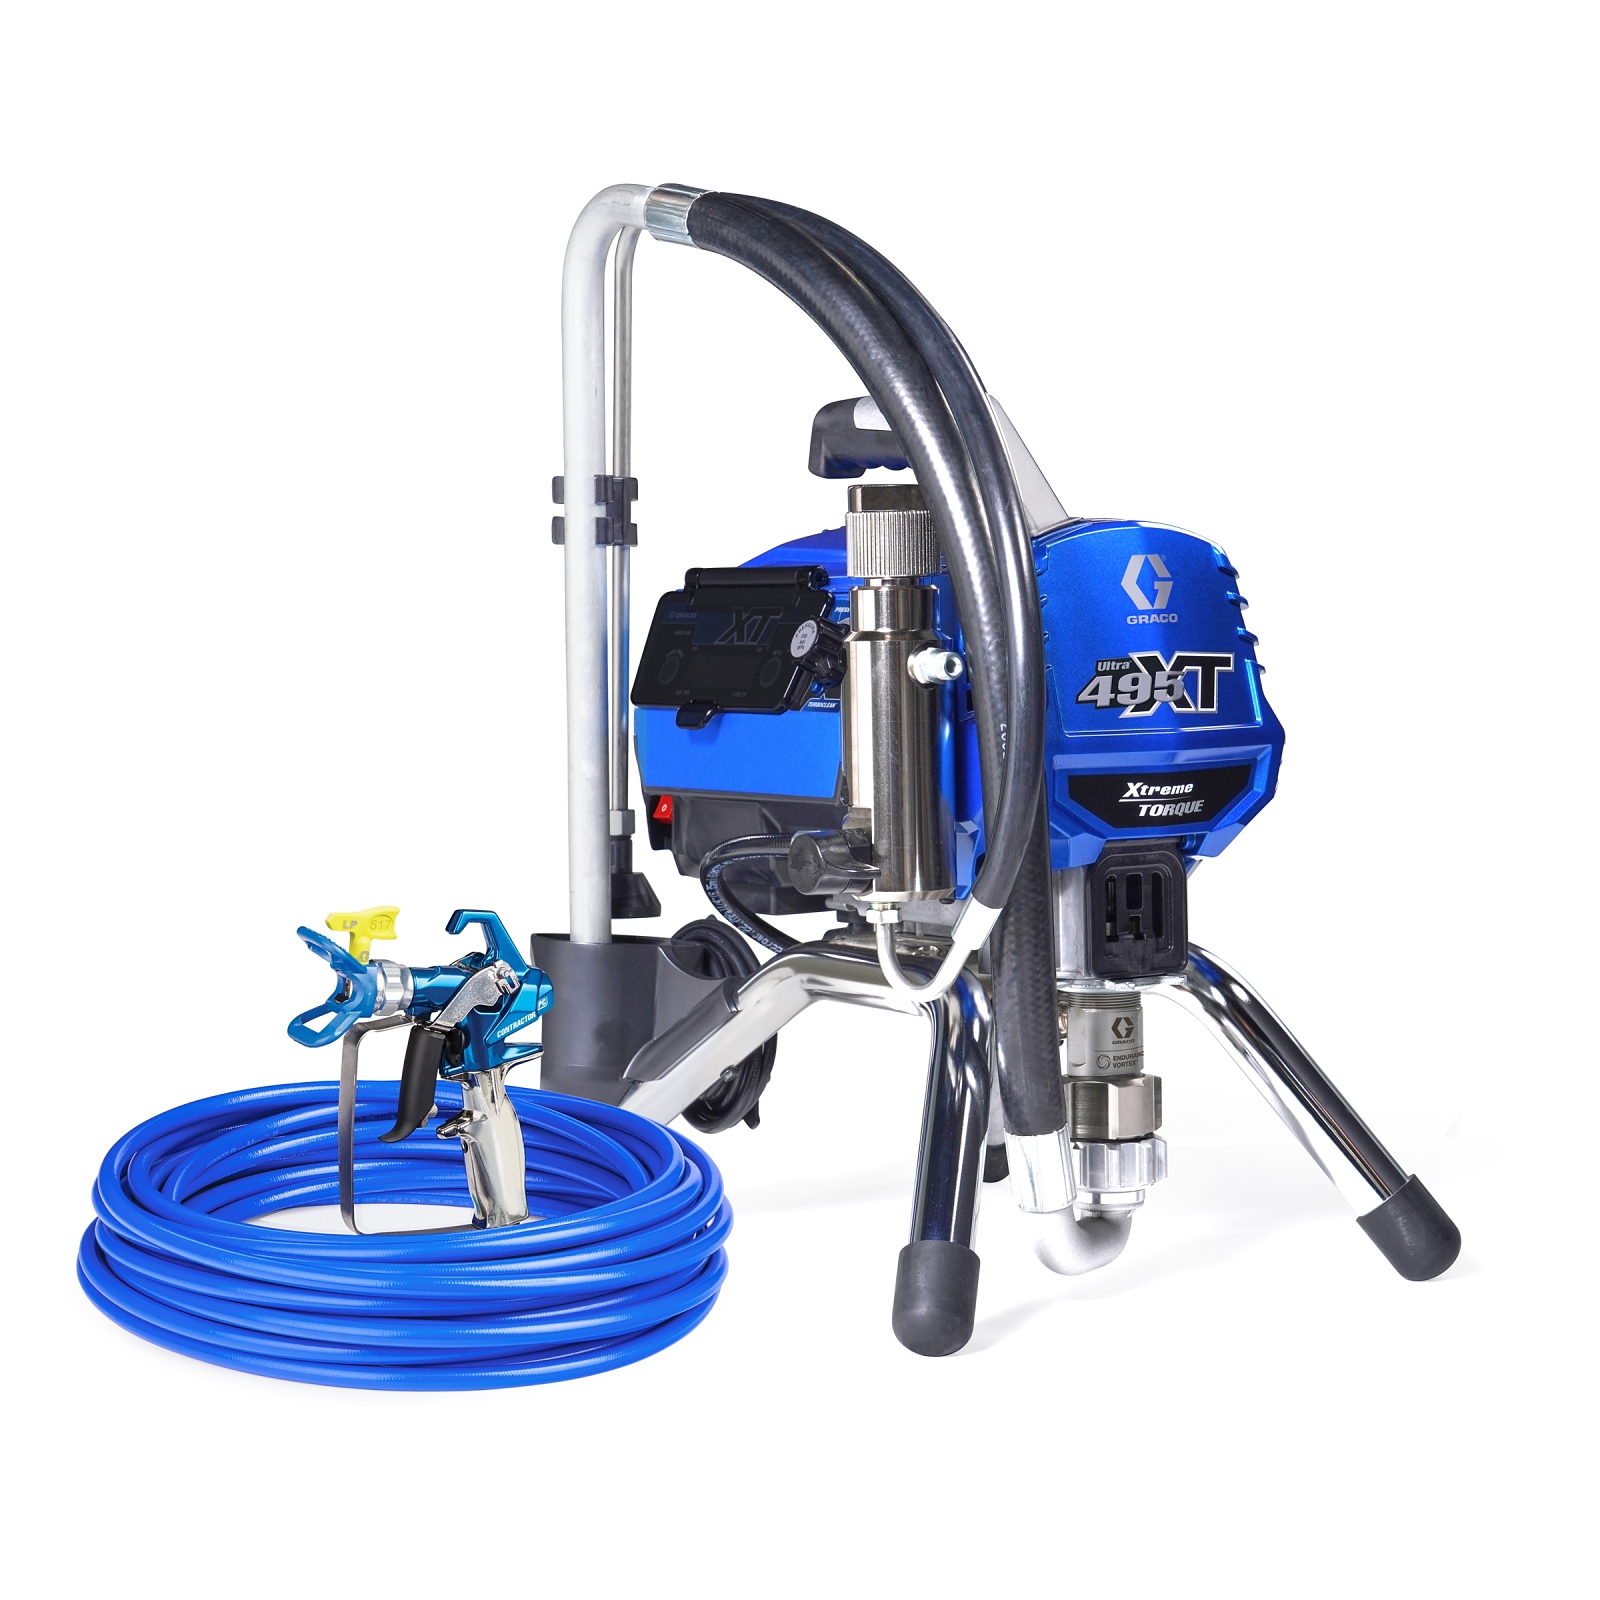
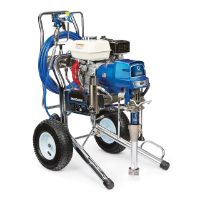
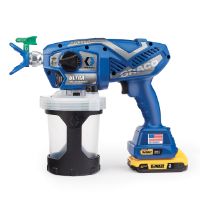
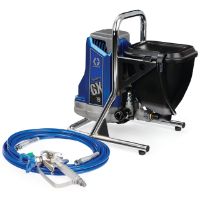
How to Start Up a Paint Sprayer
WATCH: Start Up (2:53)
Pressure Relief Kit
Proper set-up of your sprayer is an important step to keep it running at maximum performance and efficiency. Before operating your sprayer for the first time, or any time, always perform the pressure relief procedure to ensure your sprayer is de-pressurised.
- Engage the gun trigger lock.
- Turn the on/off switch to OFF.
- Turn the pressure control to the lowest setting.
- Reverse the tip and disengage the gun trigger lock.
- Hold a metal part of the gun firmly to a grounded metal pail and trigger the gun to relieve pressure.
- Engage the trigger lock.
- Turn the prime valve to the PRIME, or DRAIN, position.
Prime the Pump
With the pressure relief procedure complete, it is time to prime the pump.
- Engage the trigger lock.
- Remove the tip and guard from your gun.
- Place the fluid intake hose into a paint pail and place the drain tube into a waste pail.
- Be sure the prime valve is in the PRIME, or DRAIN, position.
- Turn the pressure control to the lowest pressure setting.
- Turn the on/off switch to ON.
- Increase the pressure control until the motor starts. Allow paint to circulate through the sprayer until paint flows smoothly out the drain tube.
- Turn the on/off switch to OFF.
Prime the Hose and Gun
You have now primed your pump with fluid. Next, it is time to prime the hose and gun to be ready to spray.
- Hold the gun against a grounded metal waste pail, disengage the trigger lock, pull the gun trigger and hold.
- Then, turn the prime valve to the SPRAY position.
- Turn the on/off switch to ON.
- Let the pump run until you see paint come out of the gun. Then, turn the on/off switch to OFF and release the gun trigger.
- Move the gun to the paint pail, pull the gun trigger, turn the on/off switch to ON and let the pump run for about 20 seconds.
- Then, release the trigger and allow the sprayer to build pressure.
- Engage the trigger lock.
- Screw the tip assembly onto the gun and tighten.
Test Your Spray Pattern
It is recommended to use a test surface and test your spray pattern. Test patterns should be sprayed on scraps of cardboard or other waste material. To test the spray pattern, follow these steps…
- Turn the pressure control knob to a mid-way position.
- While holding the gun 30 centimetres (12 inches) from the test surface, disengage the trigger lock and spray a test pattern.
- If the pattern has heavy edges, often called tails, slowly increase pressure and continue to spray test patterns until the hard edges are replaced with a soft, blend-able spray pattern.
After following these steps, you’re now ready to spray. When spraying, be sure to follow these start up steps, as well as our safety recommendations, best practice spray techniques and cleaning steps.

Related articles
Intro to Airless Paint Spraying
By applying paint in an even, consistent manner, airless spraying allows you to achieve professional results faster and easier than using a brush or roller.
Components of an Airless Paint Sprayer
Before spraying, understand how the primary components of a Graco airless paint sprayer work together to create a perfect finish with unmatched performance.
Choosing and Understanding Spray Tips
To help determine how thick of a coating you’ll be able to spray, it's important to understand the fan-width and orifice-size of a spray tip.
Airless Sprayer Safety
In order to ensure a safe working environment and avoid serious injuries, make sure you completely understand all of the elements of airless sprayer safety.
Spraying Techniques
Understanding and applying these basic spraying techniques will be the difference between a sloppy looking paint job and a professional one.
How to Clean Up a Paint Sprayer
Making sure your paint sprayer is properly cleaned will help deliver a consistent, professional finish and a solid return on your investment.